> ## Documentation Index
> Fetch the complete documentation index at: https://docs.onestack.cloud/llms.txt
> Use this file to discover all available pages before exploring further.
# Projects
> Projects let you manage your teams, tasks, and everything you need to get things done within your workspace. Once you've set up your , the next step is to create a Project. Each project acts as a container for your work, bringing together the work items, cycles, modules, and all the other tasks you and your team need to manage.
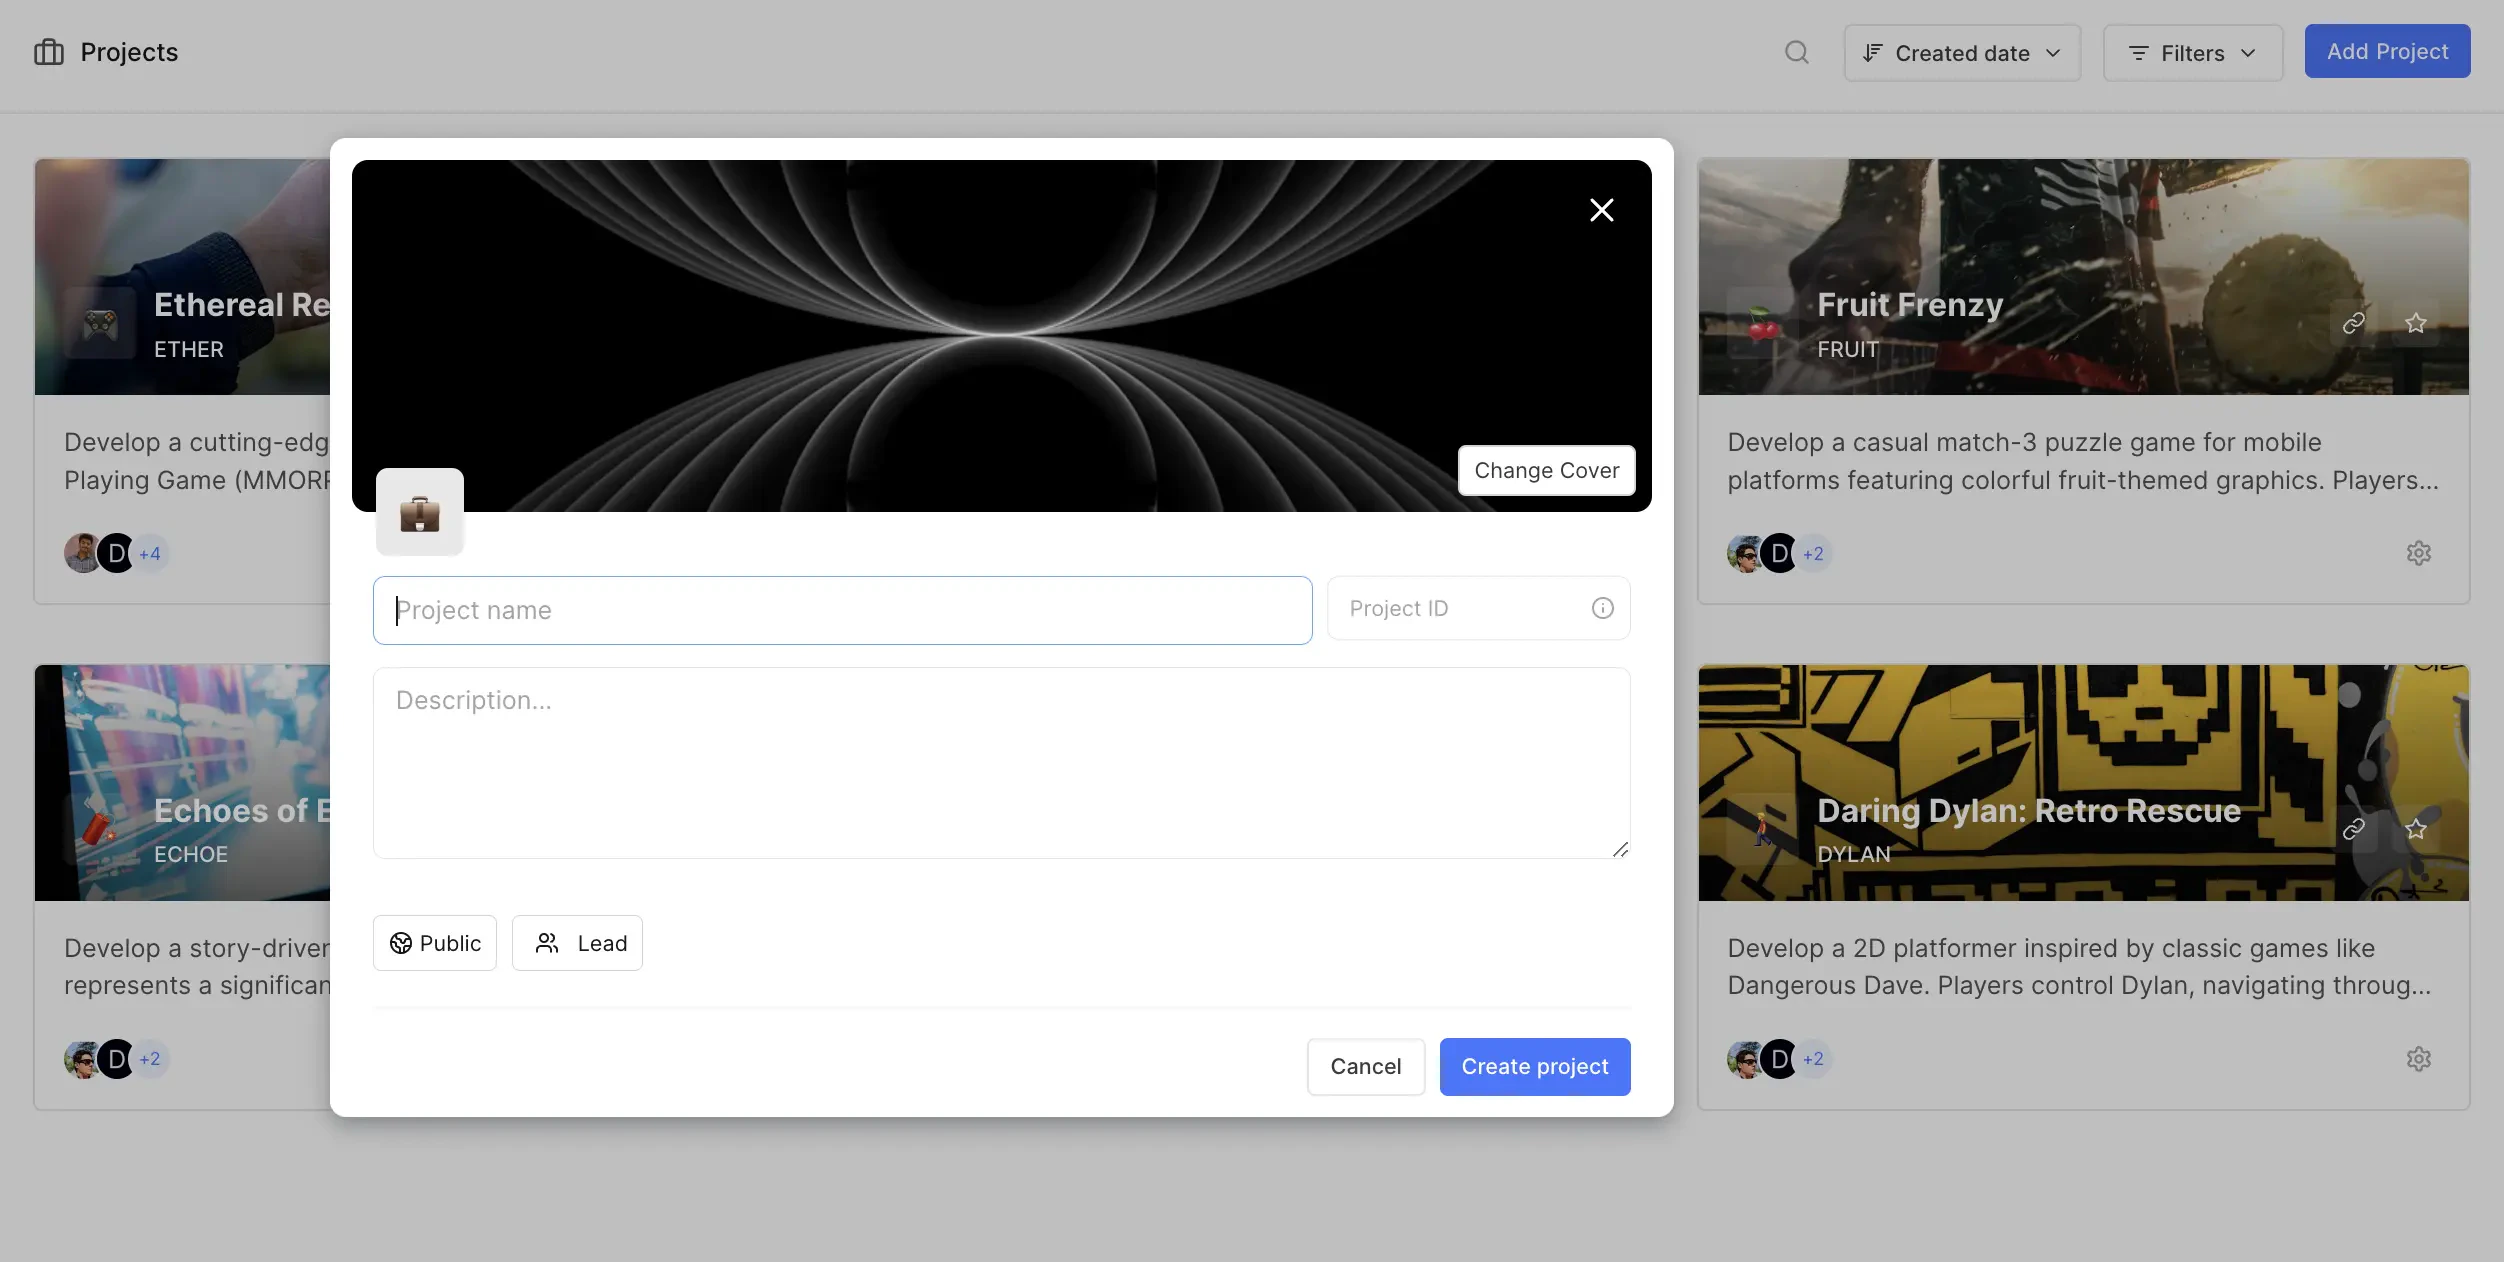
## Create project[](#create-project "Direct link to Create project")
To create a new project in your workspace, you can either press `P` or head over to the **Projects** tab in the sidebar and click **Add Project**. You’ll need to fill in a few key details to set up your project:
* **Project name** Give your project a clear and meaningful name.
* **Project ID** This is like a unique ID attached to every work item in the project, making it easier to track and differentiate them across your workspace. You can update this identifier later if needed.
* **Description (optional)** Provide a brief description to help your team understand what the project is about.
* **Access** Choose whether the project is **Private** or **Public**. A public project lets anyone in your workspace join, while a private project means admins will need to invite members.
* **Lead (optional)** You can designate a lead for the project. This person will be the go-to for queries related to the project's execution.
These attributes can always be edited later under the **General** tab in the [project's settings](#project-settings).
 ## Project settings[](#project-settings "Direct link to Project settings")
Click the **…** icon next to your project name on the sidebar and click **Settings**.
## Project settings[](#project-settings "Direct link to Project settings")
Click the **…** icon next to your project name on the sidebar and click **Settings**.  ### Project timezone[](#project-timezone "Direct link to Project timezone")
Each project can have its own timezone setting, managed by project admins. The project timezone affects how dates and times are displayed within the project context. For example, the Cycle schedules (start and end) will align with the timezone set here. However, Members will see Cycles starting and stopping based on the timezone set in their [profile settings](/core-concepts/account/settings#timezone-and-language).
## Add and manage members[](#add-and-manage-members "Direct link to Add and manage members")
To get others involved in your project, they first need to be part of your workspace. [Invite them](/core-concepts/workspaces/members#add-member) to the workspace.
Once they’re in the workspace, you can invite them to join the project and assign roles like **Admin**, **Member**, or **Guest**. You can always update their roles later if needed.
If you want to make sure every work item gets assigned, you can set a **Default assignee** for when work items are created without one. This ensures nothing slips through the cracks.
### Project timezone[](#project-timezone "Direct link to Project timezone")
Each project can have its own timezone setting, managed by project admins. The project timezone affects how dates and times are displayed within the project context. For example, the Cycle schedules (start and end) will align with the timezone set here. However, Members will see Cycles starting and stopping based on the timezone set in their [profile settings](/core-concepts/account/settings#timezone-and-language).
## Add and manage members[](#add-and-manage-members "Direct link to Add and manage members")
To get others involved in your project, they first need to be part of your workspace. [Invite them](/core-concepts/workspaces/members#add-member) to the workspace.
Once they’re in the workspace, you can invite them to join the project and assign roles like **Admin**, **Member**, or **Guest**. You can always update their roles later if needed.
If you want to make sure every work item gets assigned, you can set a **Default assignee** for when work items are created without one. This ensures nothing slips through the cracks.
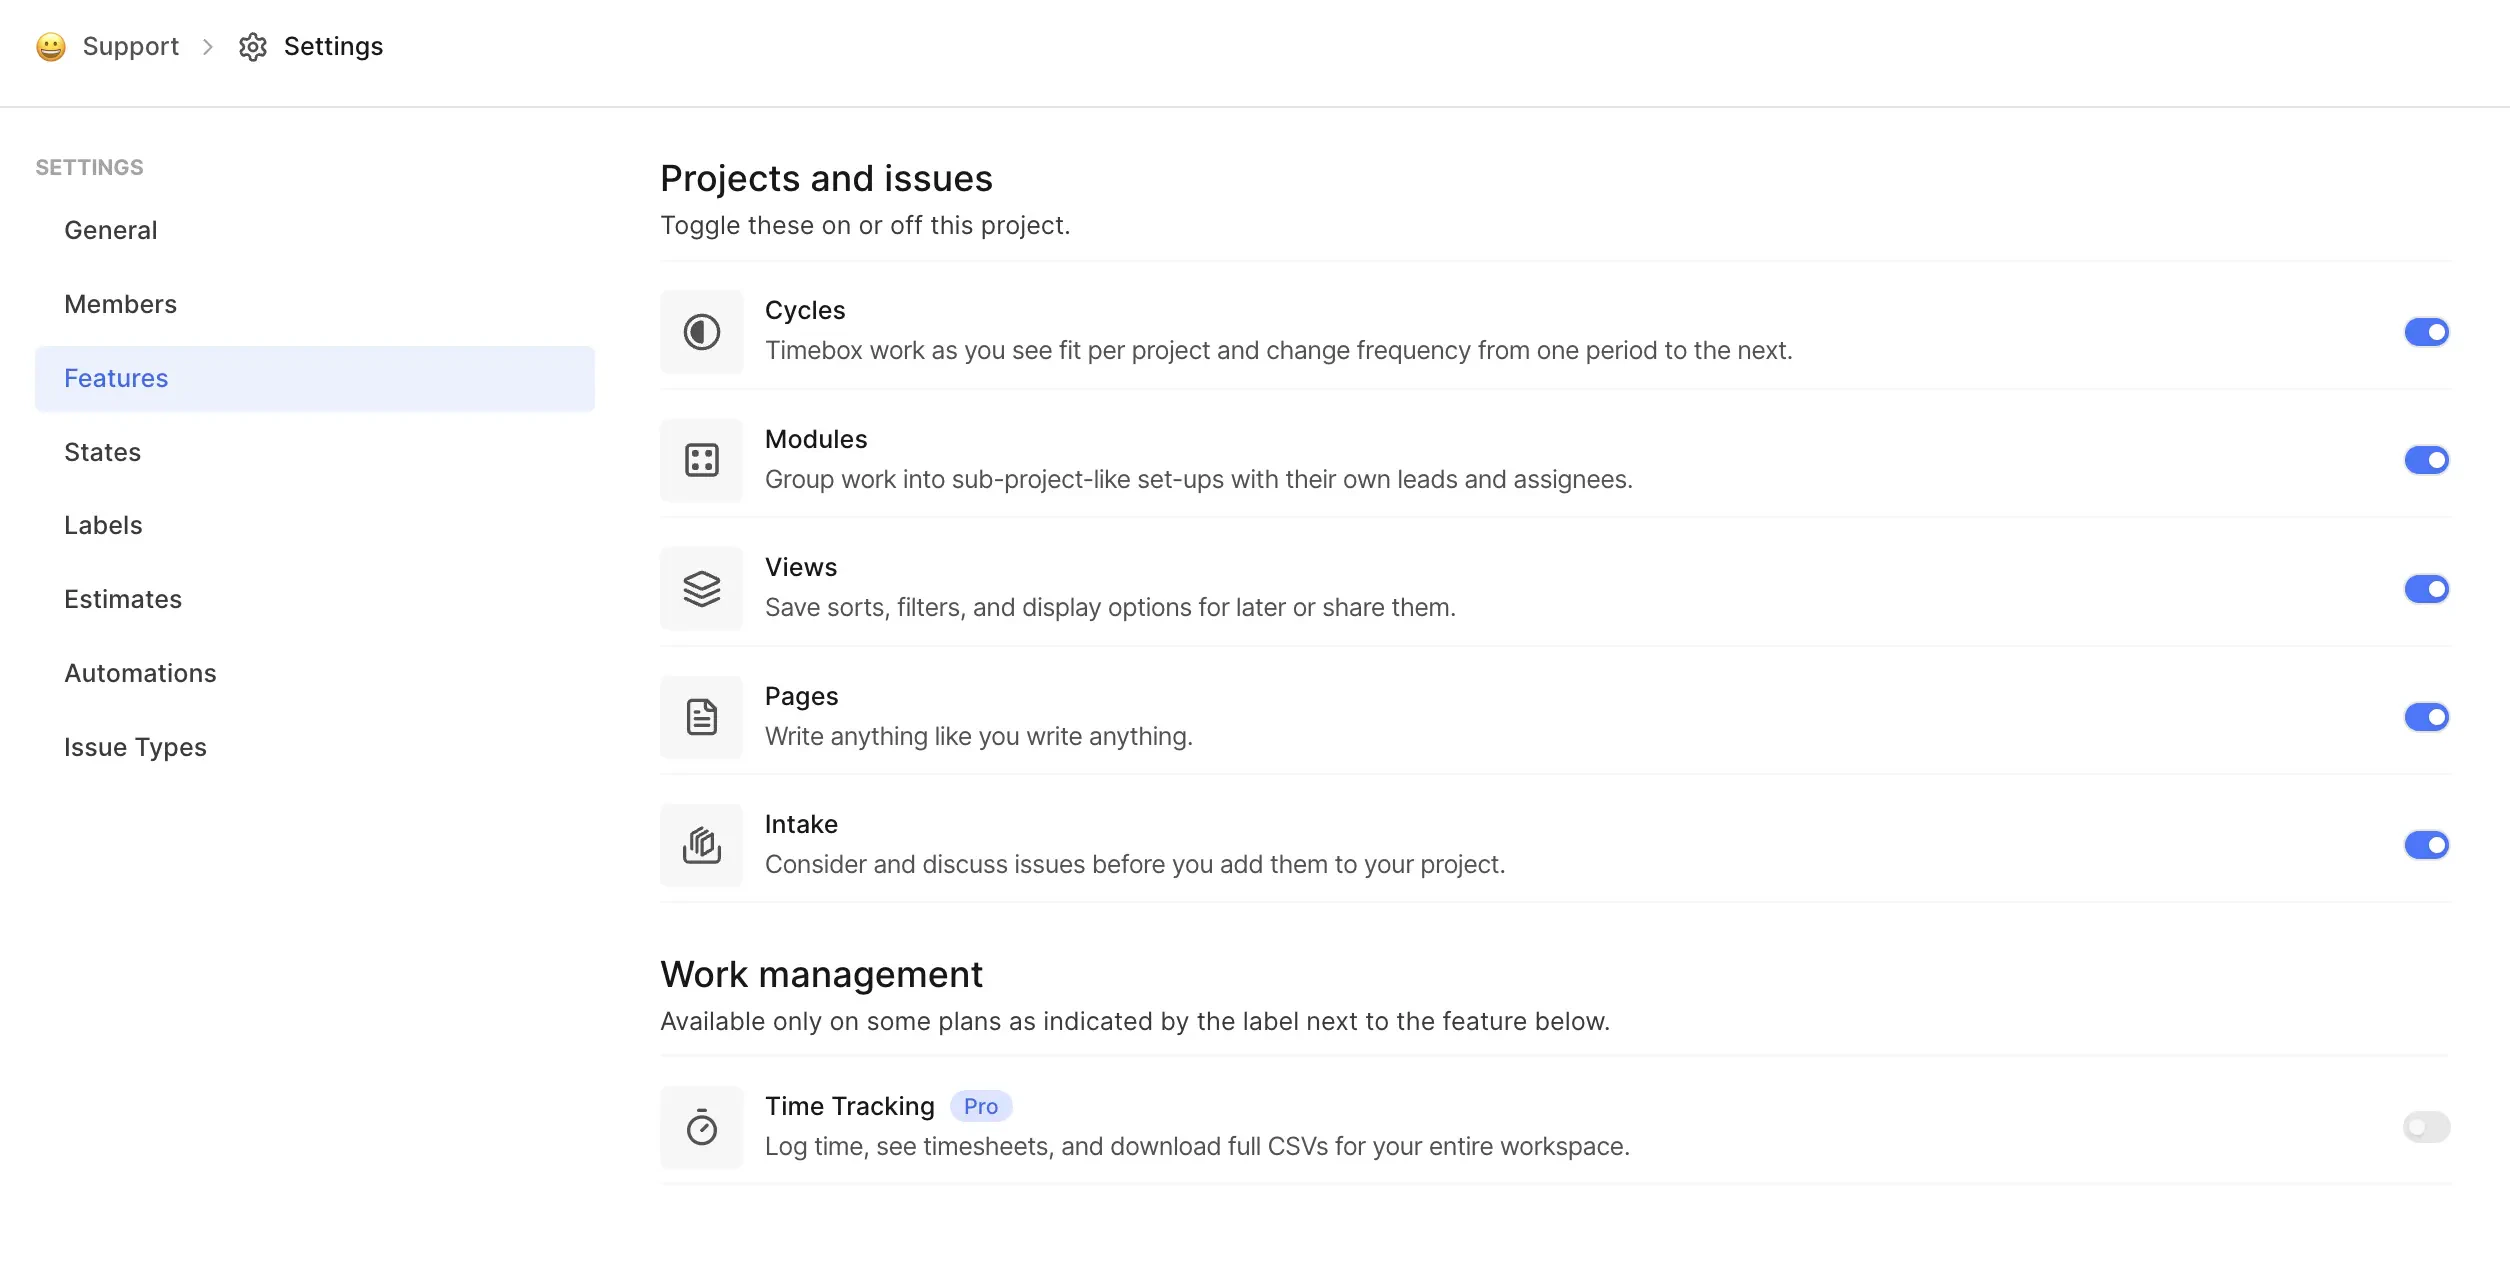
 ## Enable features[](#enable-features "Direct link to Enable features")
After creating a project, you can turn on specific features based on your requirements:
* **Cycles**: Timebox work items in your project, helping to build momentum and keep things moving forward.
* **Modules**: Group related work items together logically, making it easier to manage large projects.
* **Views**: Create custom views with filters and save them for quick access later.
* **Pages**: Document information, ideas, and guides related to your project.
* **Intake**: Capture incoming requests for your project and quickly add them to your workflow.
* **Time Tracking** - Log time spent on work items and download worklogs.
## Enable features[](#enable-features "Direct link to Enable features")
After creating a project, you can turn on specific features based on your requirements:
* **Cycles**: Timebox work items in your project, helping to build momentum and keep things moving forward.
* **Modules**: Group related work items together logically, making it easier to manage large projects.
* **Views**: Create custom views with filters and save them for quick access later.
* **Pages**: Document information, ideas, and guides related to your project.
* **Intake**: Capture incoming requests for your project and quickly add them to your workflow.
* **Time Tracking** - Log time spent on work items and download worklogs.
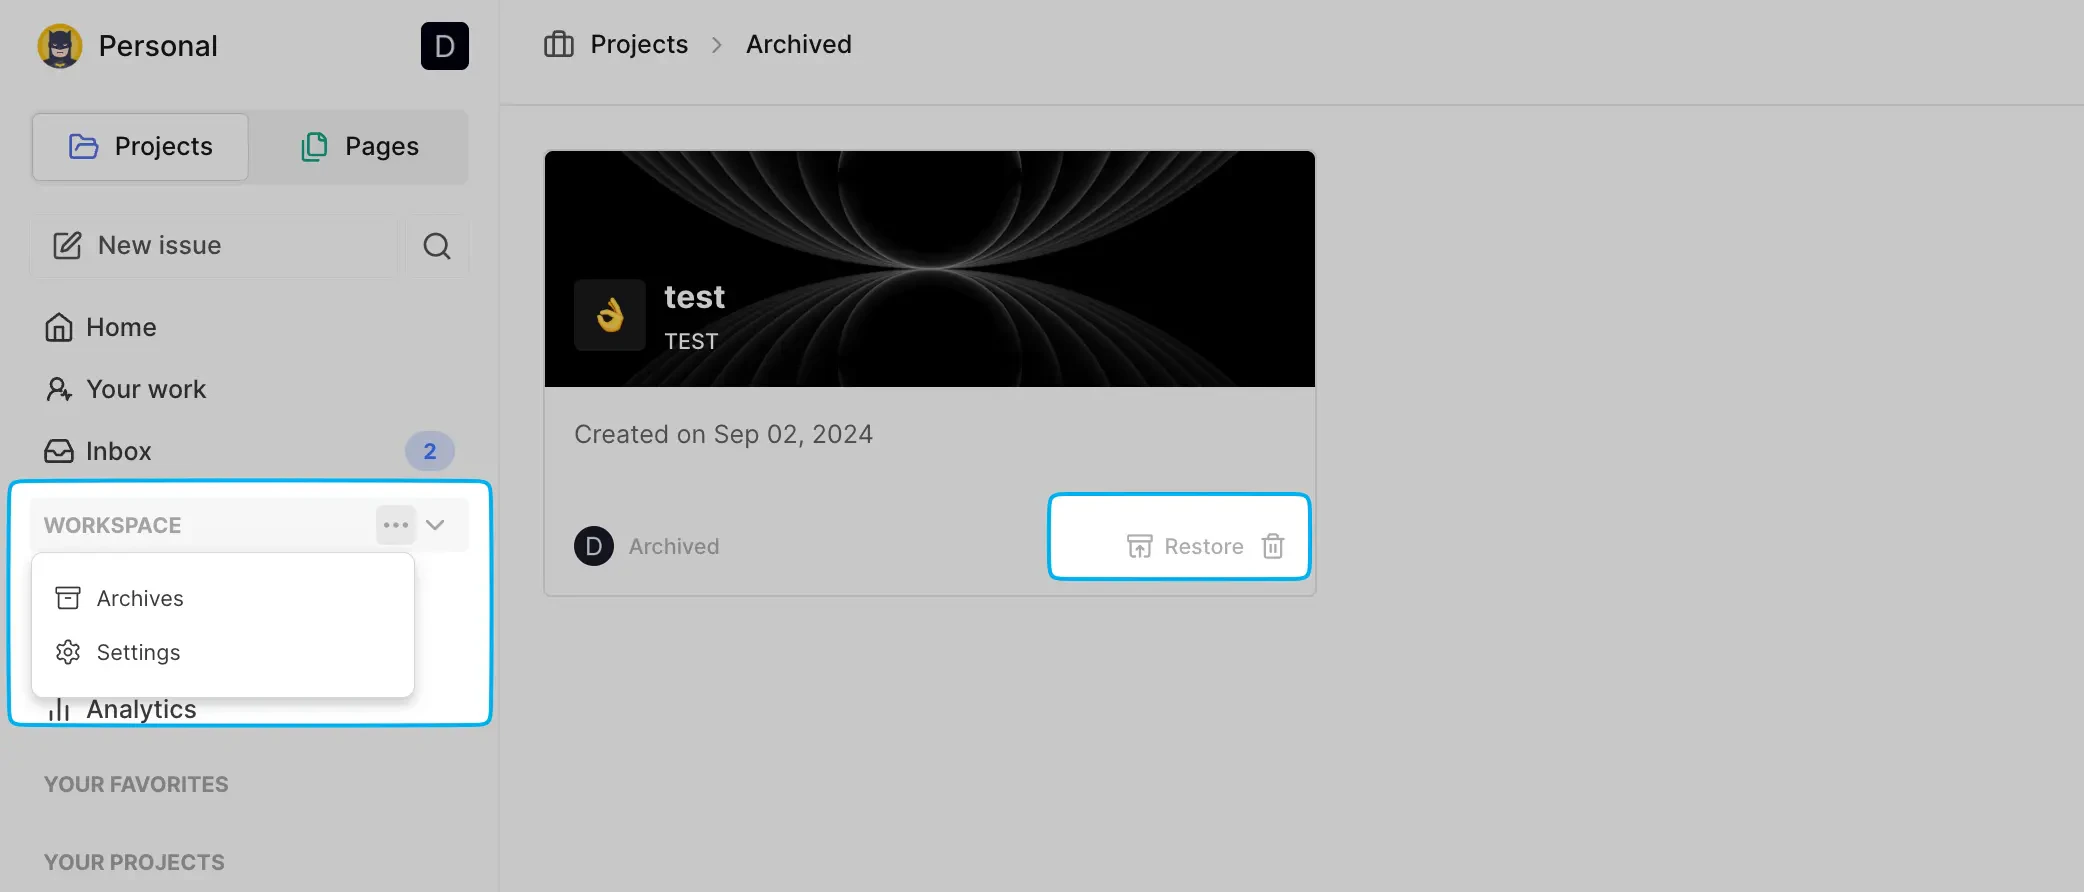
 ## Archive Project[](#archive-project "Direct link to Archive Project")
You can archive a project in [Project settings](/core-concepts/projects/overview#project-settings). Archiving a project will remove it from your sidebar, keeping your workspace clean and focused on active projects. However, you can still access the archived project and easily restore or delete it permanently at any time.
## Archive Project[](#archive-project "Direct link to Archive Project")
You can archive a project in [Project settings](/core-concepts/projects/overview#project-settings). Archiving a project will remove it from your sidebar, keeping your workspace clean and focused on active projects. However, you can still access the archived project and easily restore or delete it permanently at any time.
 ## Delete Project[](#delete-project "Direct link to Delete Project")
You can delete a project to completely remove it in [Project settings](/core-concepts/projects/overview#project-settings). However, be careful—once deleted, everything tied to that project, like work items, cycles, views, modules, and pages, are also deleted.
Right now, Plane doesn’t offer a way to recover a deleted project, so be sure before you hit delete.
## Troubleshooting[](#troubleshooting "Direct link to Troubleshooting")
### Unable to create new projects[](#unable-to-create-new-projects "Direct link to Unable to create new projects")
When attempting to create a new project, the page auto-refreshes, but no project is created.
This issue typically occurs in **self-hosted instances** when the Unsplash API key configured in your instance has expired or is invalid.
Update the [Unsplash Access key](https://developers.plane.so/self-hosting/govern/instance-admin#images-in-plane) in God mode to resolve this issue.
## Delete Project[](#delete-project "Direct link to Delete Project")
You can delete a project to completely remove it in [Project settings](/core-concepts/projects/overview#project-settings). However, be careful—once deleted, everything tied to that project, like work items, cycles, views, modules, and pages, are also deleted.
Right now, Plane doesn’t offer a way to recover a deleted project, so be sure before you hit delete.
## Troubleshooting[](#troubleshooting "Direct link to Troubleshooting")
### Unable to create new projects[](#unable-to-create-new-projects "Direct link to Unable to create new projects")
When attempting to create a new project, the page auto-refreshes, but no project is created.
This issue typically occurs in **self-hosted instances** when the Unsplash API key configured in your instance has expired or is invalid.
Update the [Unsplash Access key](https://developers.plane.so/self-hosting/govern/instance-admin#images-in-plane) in God mode to resolve this issue.