> ## Documentation Index
> Fetch the complete documentation index at: https://docs.onestack.cloud/llms.txt
> Use this file to discover all available pages before exploring further.
# Views
> Views are saved collections of filters that you can apply to work items, allowing you to analyze and manage them efficiently. Instead of reapplying the same filters repeatedly, you can save them with a title for easy access and reuse.
## View types[](#view-types "Direct link to View types")
In Plane, you can create two different types of views:
* **Workspace Views** These are created at the Workspace level and are available to all Members, depending on whether they are marked as public or private. These include some default system-defined Views that cannot be removed.  * **Project Views** These Views are created within the specific project and are accessible to all Members of the project, depending on whether they are set as public or private. This feature is turned on by default and can be toggled on or off from the [project settings](/core-concepts/projects/overview#project-settings).
 ## Create Views[](#create-views "Direct link to Create Views")
To create a project View, press `V` anywhere within your project or click the **Add view** button in the project's **Views** section. Apply the desired filters and provide a name to save the view.
## Create Views[](#create-views "Direct link to Create Views")
To create a project View, press `V` anywhere within your project or click the **Add view** button in the project's **Views** section. Apply the desired filters and provide a name to save the view.  Alternatively, spin off a View from within the project's Work items section after applying the filters and clicking **Save View**.
  For Workspace Views, click the **Add view** button in the **Views** section of your Workspace.
Learn more about how to apply filters [here](/core-concepts/issues/visualise_filter). After creating a view, you can share the link to collaborate and investigate with members.
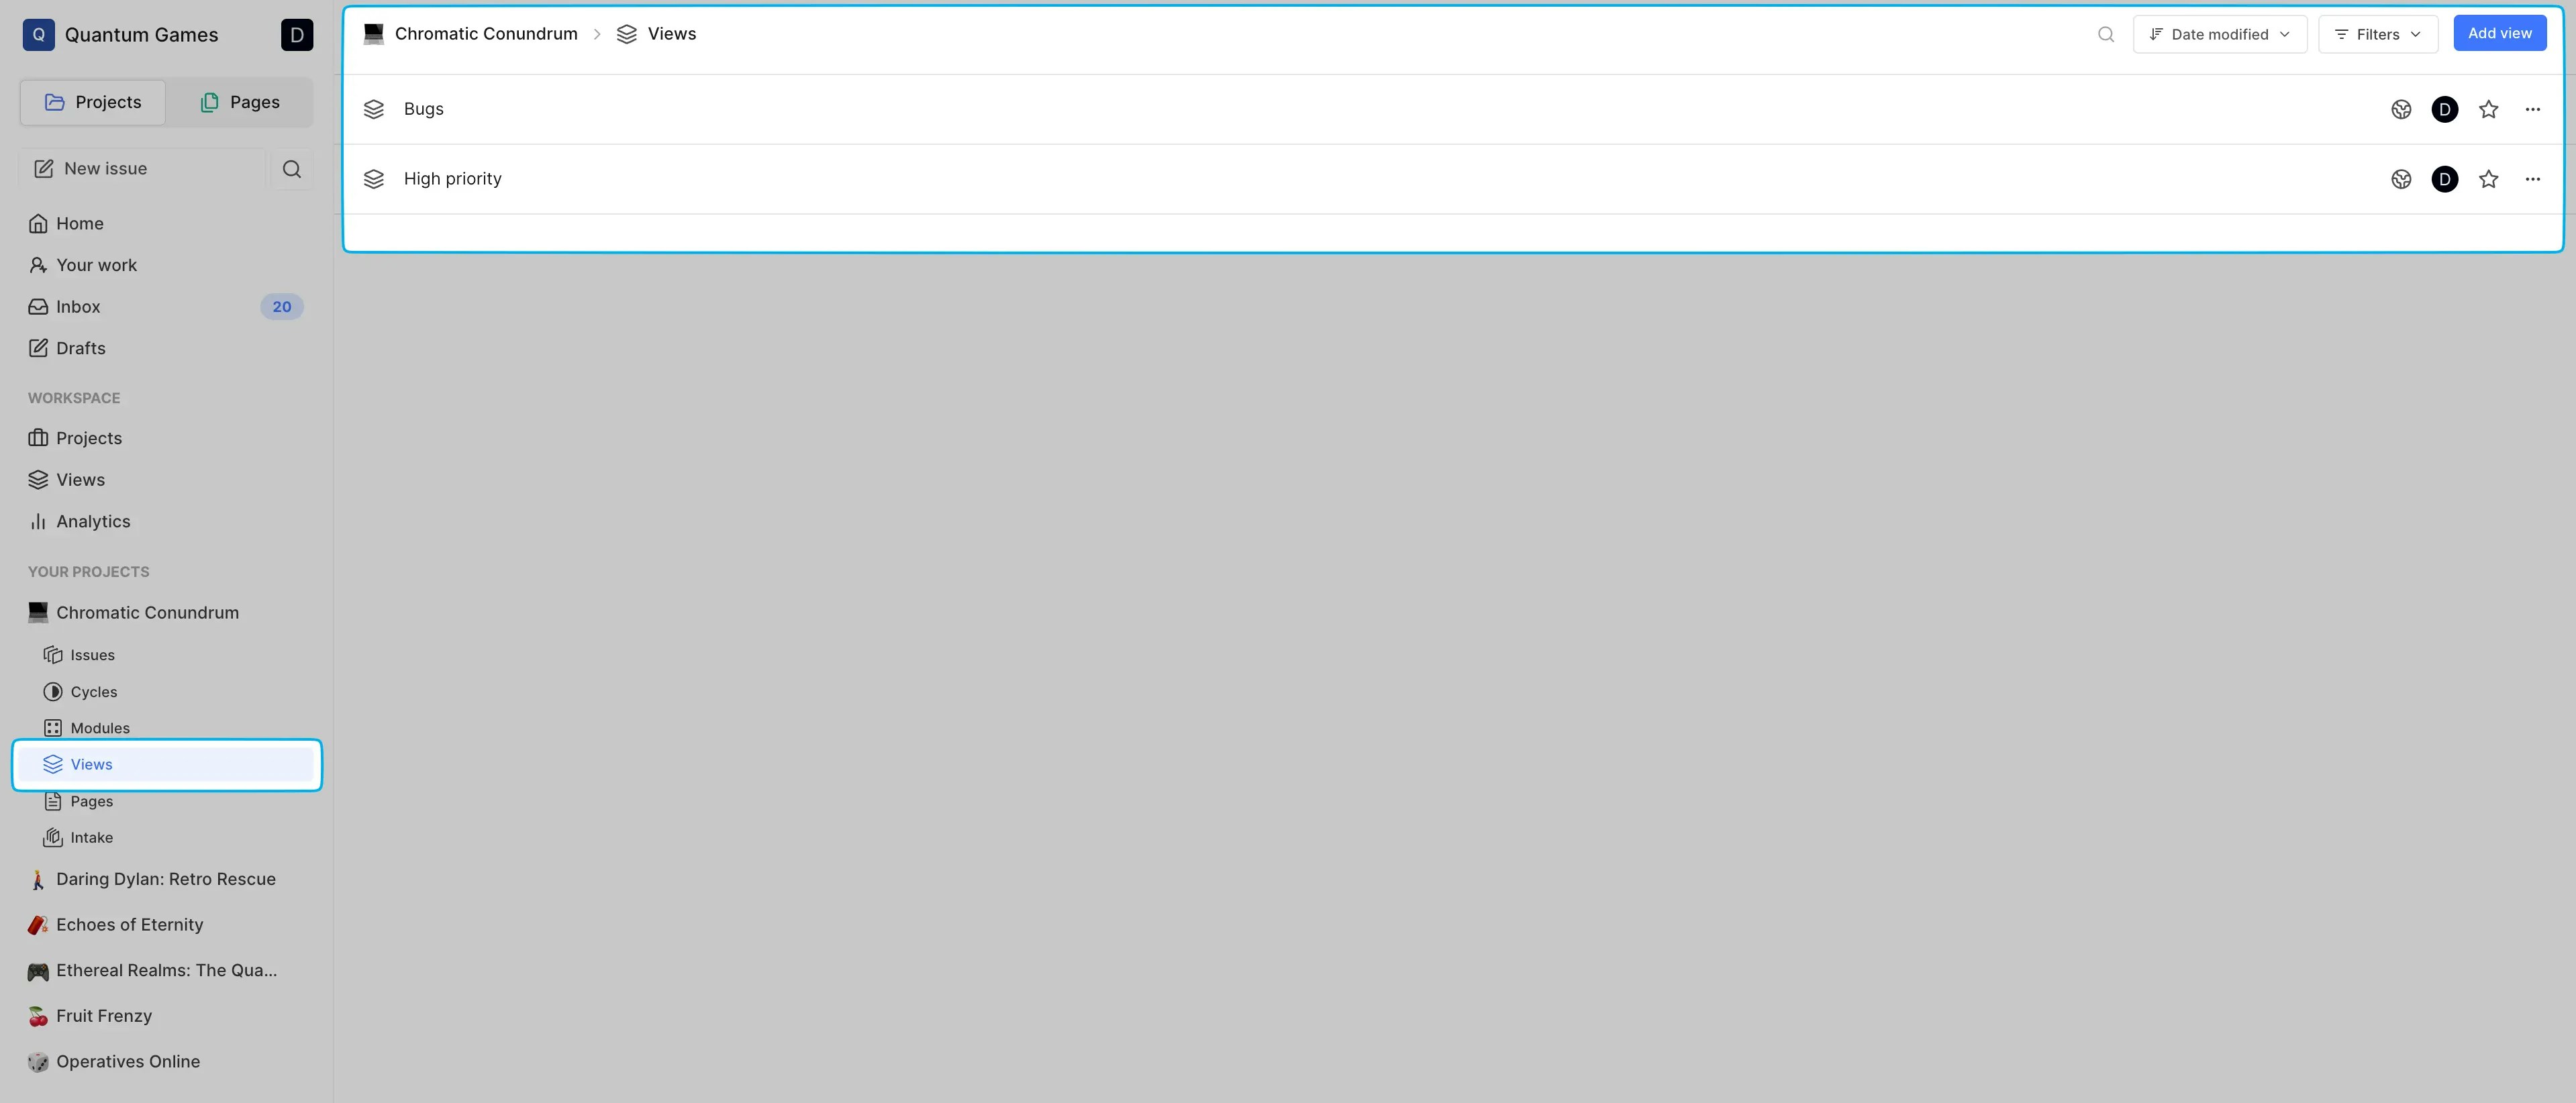
## Investigating with Views[](#investigating-with-views "Direct link to Investigating with Views")
Saved filters can be accessed from the **Views** section.
For Workspace Views, click the **Add view** button in the **Views** section of your Workspace.
Learn more about how to apply filters [here](/core-concepts/issues/visualise_filter). After creating a view, you can share the link to collaborate and investigate with members.
## Investigating with Views[](#investigating-with-views "Direct link to Investigating with Views")
Saved filters can be accessed from the **Views** section.
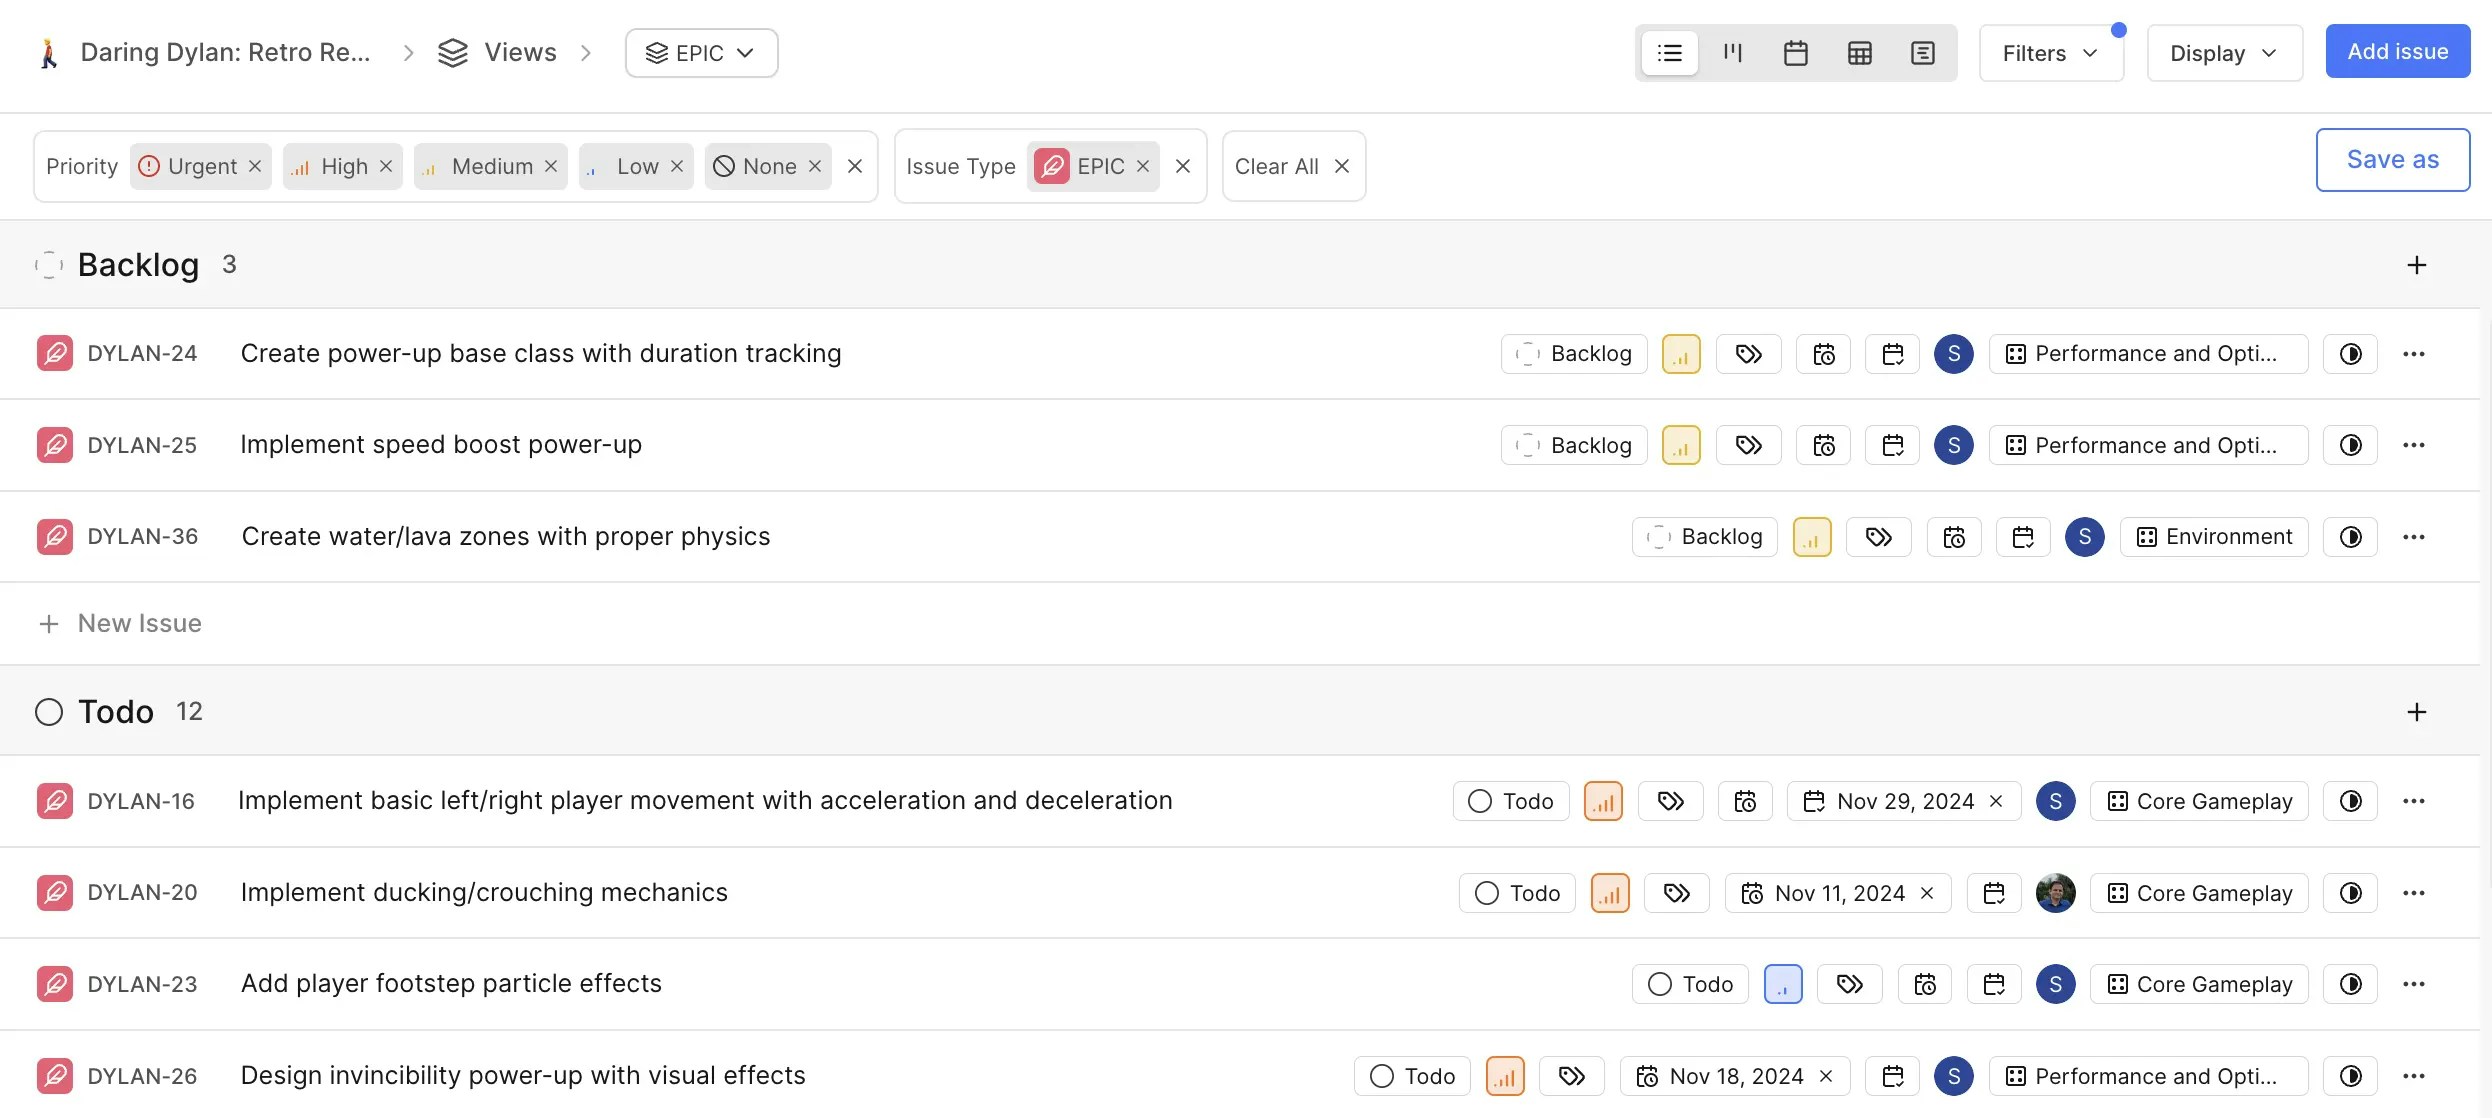 After creating a view, you can:
* Adjust the layout.
* Organize information using grouping or sorting options.
* Apply additional filters to refine results.
Workspace Views are visualized using the spreadsheet layout, while project Views support all layouts. Learn more about layouts and grouping options [here](/core-concepts/issues/layouts).
## Publish Views[](#publish-views "Direct link to Publish Views")
Pro
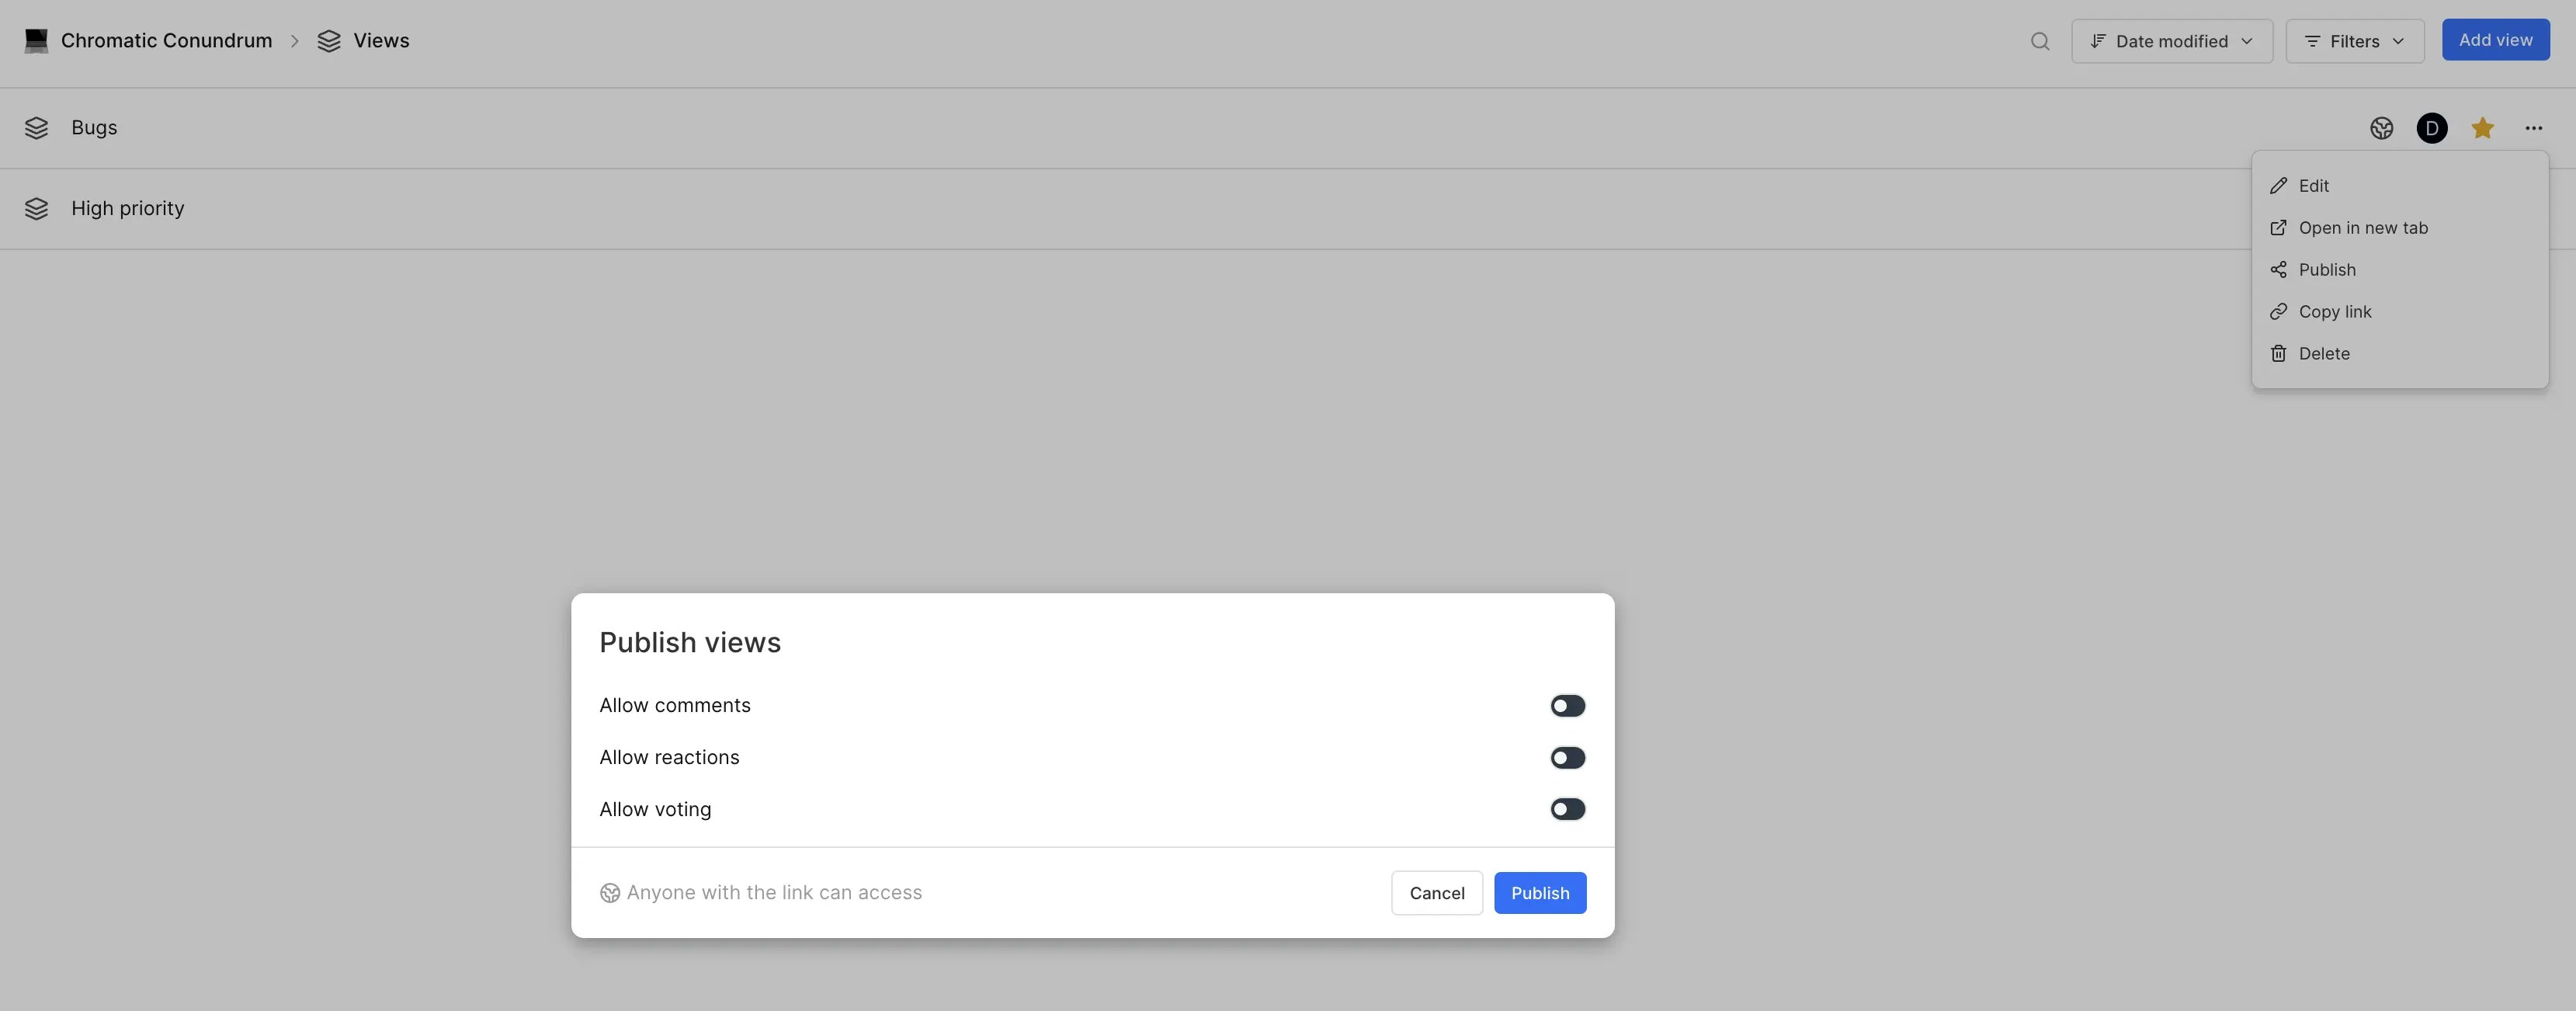
Publishing a View allows you to share it more interactively by enabling features like comments, reactions, and voting. Here's how to publish a view:
1. Click the … icon on the View you want to publish.
2. Select the **Publish** option.
3. In the **Publish views** modal, toggle the settings for allowing comments, reactions, or voting.
4. Once configured, click **Publish**. The view will now be accessible to anyone with the link.
After creating a view, you can:
* Adjust the layout.
* Organize information using grouping or sorting options.
* Apply additional filters to refine results.
Workspace Views are visualized using the spreadsheet layout, while project Views support all layouts. Learn more about layouts and grouping options [here](/core-concepts/issues/layouts).
## Publish Views[](#publish-views "Direct link to Publish Views")
Pro
Publishing a View allows you to share it more interactively by enabling features like comments, reactions, and voting. Here's how to publish a view:
1. Click the … icon on the View you want to publish.
2. Select the **Publish** option.
3. In the **Publish views** modal, toggle the settings for allowing comments, reactions, or voting.
4. Once configured, click **Publish**. The view will now be accessible to anyone with the link.
 ## Update Views[](#update-views "Direct link to Update Views")
After creating a view, any modification to its filters will prompt you to update the view. Additionally, you can choose to change the name, description, and filters explicitly from the list of views by selecting the **Edit** option corresponding to the view you wish to update.
## Delete Views[](#delete-views "Direct link to Delete Views")
You can remove views by deleting them from the list of views in your workspace or project. Deleting a view has no impact on the associated work items.
## Additional features[](#additional-features "Direct link to Additional features")
* Mark frequently used views as favorites for quick access. Favorited views appear on the sidebar under **Your Favorites** section.
* Use the search bar in the **Views** section to locate specific views quickly.
## Update Views[](#update-views "Direct link to Update Views")
After creating a view, any modification to its filters will prompt you to update the view. Additionally, you can choose to change the name, description, and filters explicitly from the list of views by selecting the **Edit** option corresponding to the view you wish to update.
## Delete Views[](#delete-views "Direct link to Delete Views")
You can remove views by deleting them from the list of views in your workspace or project. Deleting a view has no impact on the associated work items.
## Additional features[](#additional-features "Direct link to Additional features")
* Mark frequently used views as favorites for quick access. Favorited views appear on the sidebar under **Your Favorites** section.
* Use the search bar in the **Views** section to locate specific views quickly.